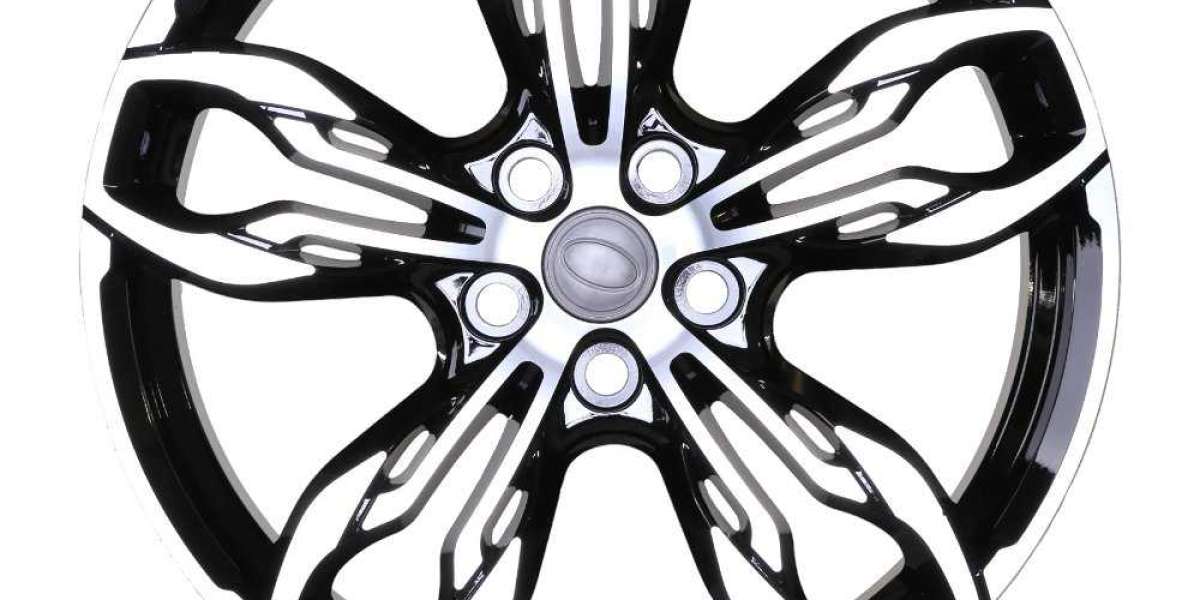
Upgrading your vehicle's wheels can dramatically enhance its appearance and performance. If you're considering installing 20-inch machine face aluminum alloy steel wheels, this comprehensive guide will walk you through the process step by step. From gathering the necessary tools to ensuring a proper fit, Ouya will cover everything you need to know to successfully complete this installation.
Step 1: Gather the Required Tools and Materials
Before you begin, make sure you have all the necessary tools and materials on hand. You'll need a lug wrench, a jack, jack stands, a torque wrench, a socket set, a pry bar, a rubber mallet, and, of course, the 20-inch machine face aluminum alloy steel wheels. Additionally, it's crucial to have the vehicle's owner's manual for specific instructions and torque specifications.
Step 2: Prepare the Vehicle
Start by parking your vehicle on a flat surface and engaging the parking brake. Loosen the lug nuts on the existing wheels, but do not remove them just yet. Then, position the jack under the vehicle's designated jacking point and raise it until the wheel is off the ground. Place jack stands under the vehicle for added safety and stability.
Step 3: Remove the Existing Wheels
Using the lug wrench, fully remove the lug nuts and carefully take off the existing wheels. If they are stuck, gently tap them with a rubber mallet or use a pry bar to loosen them. Once removed, inspect the brake components and ensure they are in good condition. Clean any dirt or debris from the hub surface to ensure a proper fit for the new wheels.

Step 4: Install the New Wheels
Carefully align the holes on the new 20-inch machine face aluminum alloy steel wheels with the wheel studs on the hub. Push the wheel onto the hub until it sits flush against the brake rotor. Then, hand-tighten the lug nuts in a star pattern to ensure even tightening. Avoid using power tools at this stage to prevent overtightening.
Step 5: Torque the Lug Nuts
Using a torque wrench, tighten the lug nuts to the manufacturer's recommended torque specification. Refer to the vehicle's owner's manual or the wheel manufacturer's instructions for the specific torque value. It's crucial to follow these guidelines to prevent damage to the wheels or the vehicle's suspension components.
Step 6: Lower the Vehicle and Recheck the Lug Nuts
Carefully lower the vehicle using the jack until all four wheels are back on the ground. Once the vehicle is stable, use the torque wrench to recheck the lug nuts' torque. This step ensures that the wheels are properly secured and eliminates the risk of them coming loose while driving.
Step 7: Test and Adjust
Take your vehicle for a short test drive to ensure that the new wheels are functioning correctly. Pay attention to any unusual vibrations or noises. If you notice any issues, safely park the vehicle and recheck the lug nuts' torque. Additionally, visually inspect the wheels for any signs of rubbing or interference with the vehicle's suspension or brake components.
Conclusion:
Installing 20-inch machine face aluminum alloy steel wheels can be a rewarding upgrade for your vehicle. By following this step-by-step guide, you can confidently complete the installation process. Remember to gather the necessary tools, prepare the vehicle, remove the existing wheels, install the new wheels correctly, torque the lug nuts to the recommended specifications, and thoroughly test the vehicle before hitting the road. Enjoy the enhanced appearance and performance that these wheels bring to your vehicle!
https://www.ouyawheel.com/How-to-install-20-inch-machine-face-aluminum-alloy-steel-wheel.html