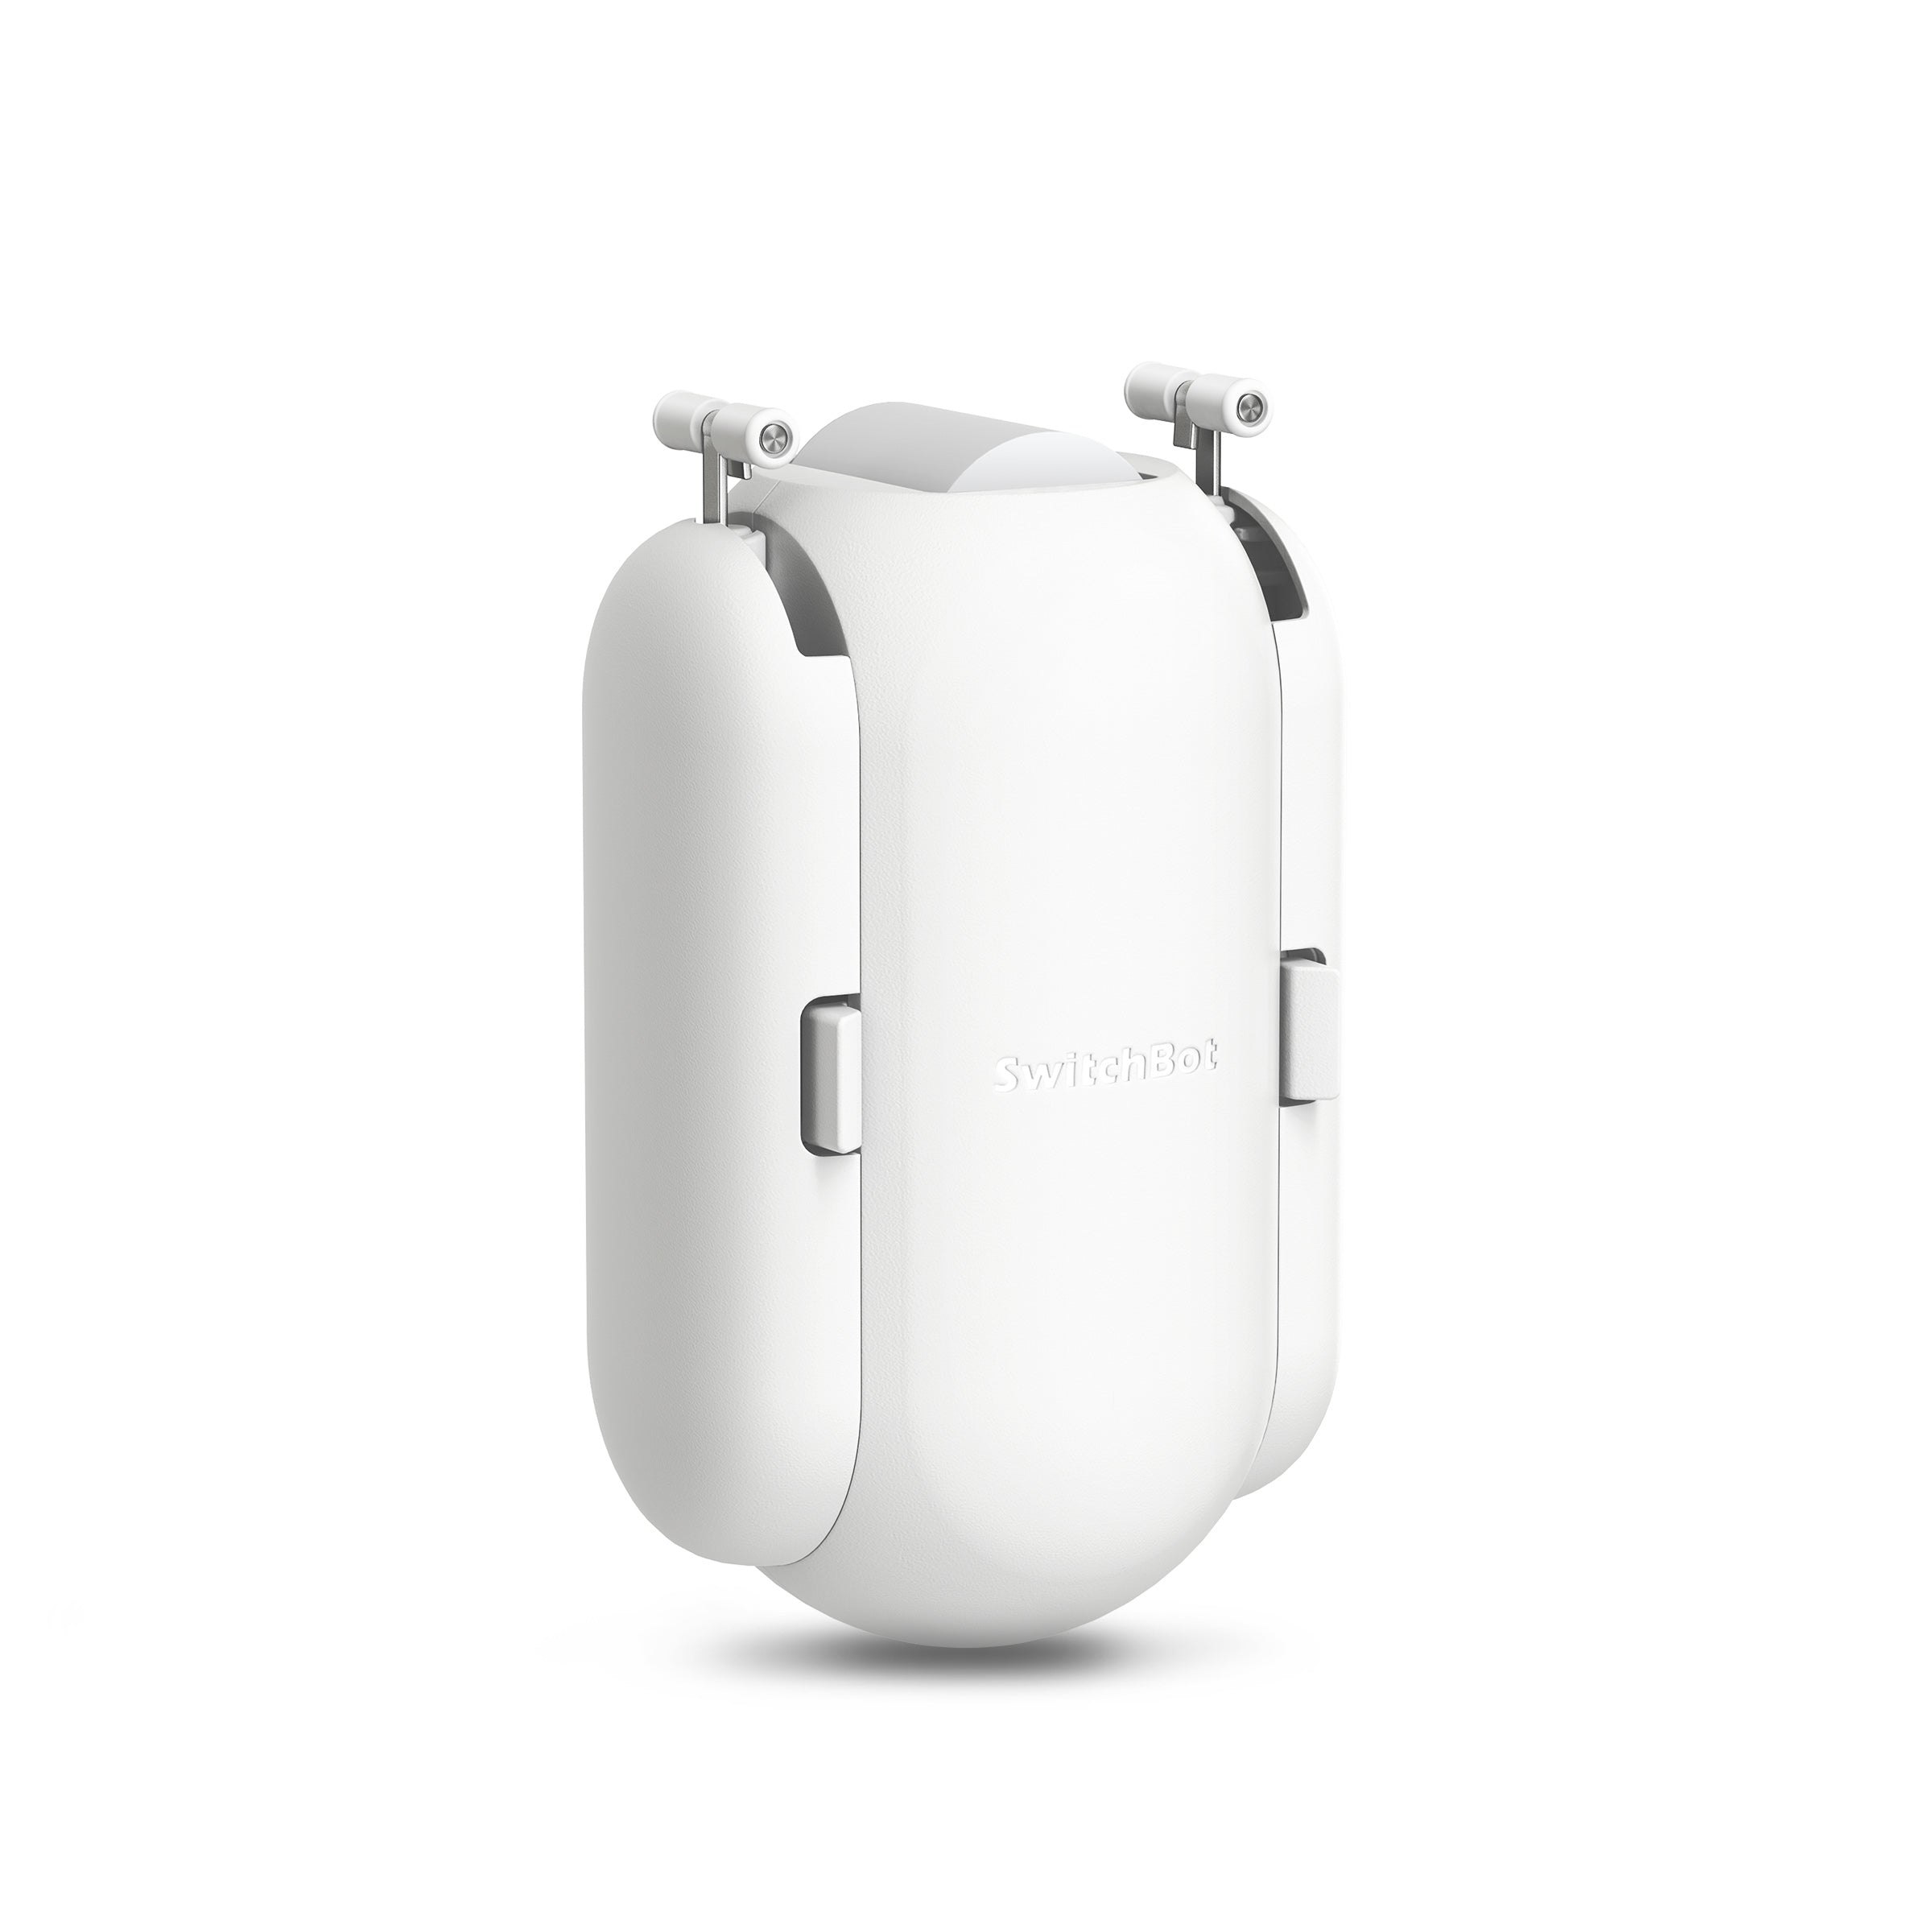
Electric curtains offer a convenient and modern solution for controlling natural light and privacy in your home. With their automated functionality, they provide ease of use and can be integrated with smart home systems. In this article, we will guide you through the step-by-step installation process of electric curtains, ensuring a smooth and successful setup.

Gathering the Necessary Tools and Materials
Before starting the installation process, it is important to gather all the necessary tools and materials. This includes an electric curtain track or rod, brackets, screws, a power drill, a measuring tape, a level, and a screwdriver. Make sure to choose a curtain track or rod that suits your window size and weight of the curtains.
Measuring and Marking
The first step in installing electric curtains is to measure and mark the positions for the brackets. Start by measuring the width of your window and mark the center point. Then, measure the desired distance from the center point to determine the placement of the brackets. Use a measuring tape and a level to ensure accurate measurements and alignment.
Next, mark the positions for the brackets on the wall or ceiling using a pencil. Make sure the marks are at the same height and level to ensure a straight installation.
Installing the Brackets
Once the positions are marked, it's time to install the brackets. Use a power drill to create pilot holes at the marked positions. This will make it easier to screw in the brackets securely. Attach the brackets to the wall or ceiling using screws, ensuring they are firmly in place.
After installing the brackets, attach the electric curtain track or rod to the brackets. Follow the manufacturer's instructions for proper attachment, as it may vary depending on the specific product.
Wiring and Power Supply
Now that the curtain track or rod is securely installed, it's time to connect the wiring and power supply. Locate the power source for the electric curtains, which is typically an electrical outlet. If necessary, hire a professional electrician to ensure safe and proper wiring.
Connect the wiring from the electric curtain track or rod to the power supply, following the manufacturer's instructions. Make sure to use appropriate connectors and secure the wiring to prevent any accidents or damage.
Testing and Programming
Once the installation and wiring are complete, it's important to test the electric curtains to ensure they are functioning properly. Use the provided remote control or smart home system to open and close the curtains. Check for any issues such as noise, uneven movement, or obstruction.
If necessary, consult the user manual or contact the manufacturer for troubleshooting tips. Some electric curtains also offer programmable features, allowing you to set specific opening and closing times or integrate them with other smart home devices. Take advantage of these features to enhance your overall experience.
With the step-by-step installation process of electric curtains complete, you can now enjoy the convenience and luxury they bring to your home. Sit back, relax, and let the automated curtains enhance your living space.


