
Are you excited about your new electric screwdriver? Setting it up properly is essential to ensure optimal performance and longevity. In this guide, we will walk you through the process of setting up your new electric screwdriver like a pro.
Unboxing Your Electric Screwdriver
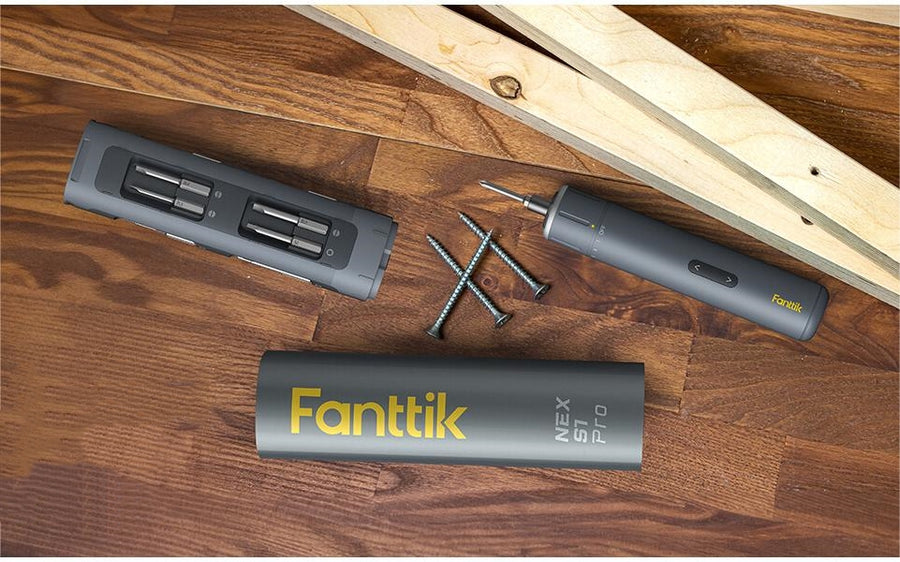
Before we dive into the setup process, let's start with unboxing your electric screwdriver. Carefully remove the packaging and inspect the contents. You should find the electric screwdriver itself, a charger, and any additional accessories that come with it.
Make sure to read the user manual provided by the manufacturer. It will contain important information about the specific features and functions of your electric screwdriver.
Charging the Battery
One of the first steps in setting up your electric screwdriver is charging the battery. Connect the charger to a power source and plug it into the charging port of your screwdriver. Allow the battery to charge fully before using the screwdriver for the first time.
It is important to note that different electric screwdrivers have different charging times. Refer to the user manual for the recommended charging duration. Avoid overcharging the battery, as it can reduce its overall lifespan.
Attaching the Bits
Now that your electric screwdriver is charged, it's time to attach the appropriate bits. Most electric screwdrivers come with a variety of bits for different types of screws. Select the bit that matches the screw you will be working with.
To attach the bit, locate the chuck at the front of the screwdriver. Hold the chuck firmly and rotate it counterclockwise to open it. Insert the bit into the chuck and tighten it by rotating the chuck clockwise. Make sure the bit is securely fastened before proceeding.
Adjusting the Torque Settings
One of the key features of an electric screwdriver is its torque settings. Torque determines the amount of force applied to the screw. Different screws require different torque settings to ensure proper tightening without damaging the material.
Refer to the user manual to understand how to adjust the torque settings on your specific electric screwdriver. Some models have a dial or a digital display that allows you to select the desired torque level. Experiment with different torque settings to find the one that works best for your needs.
Remember, using the correct torque setting is crucial to avoid stripping screws or damaging the material you are working with.
Conclusion
By following these steps, you can set up your new electric screwdriver like a pro. Remember to always refer to the user manual for specific instructions related to your model. Now you are ready to tackle various projects with ease and efficiency.